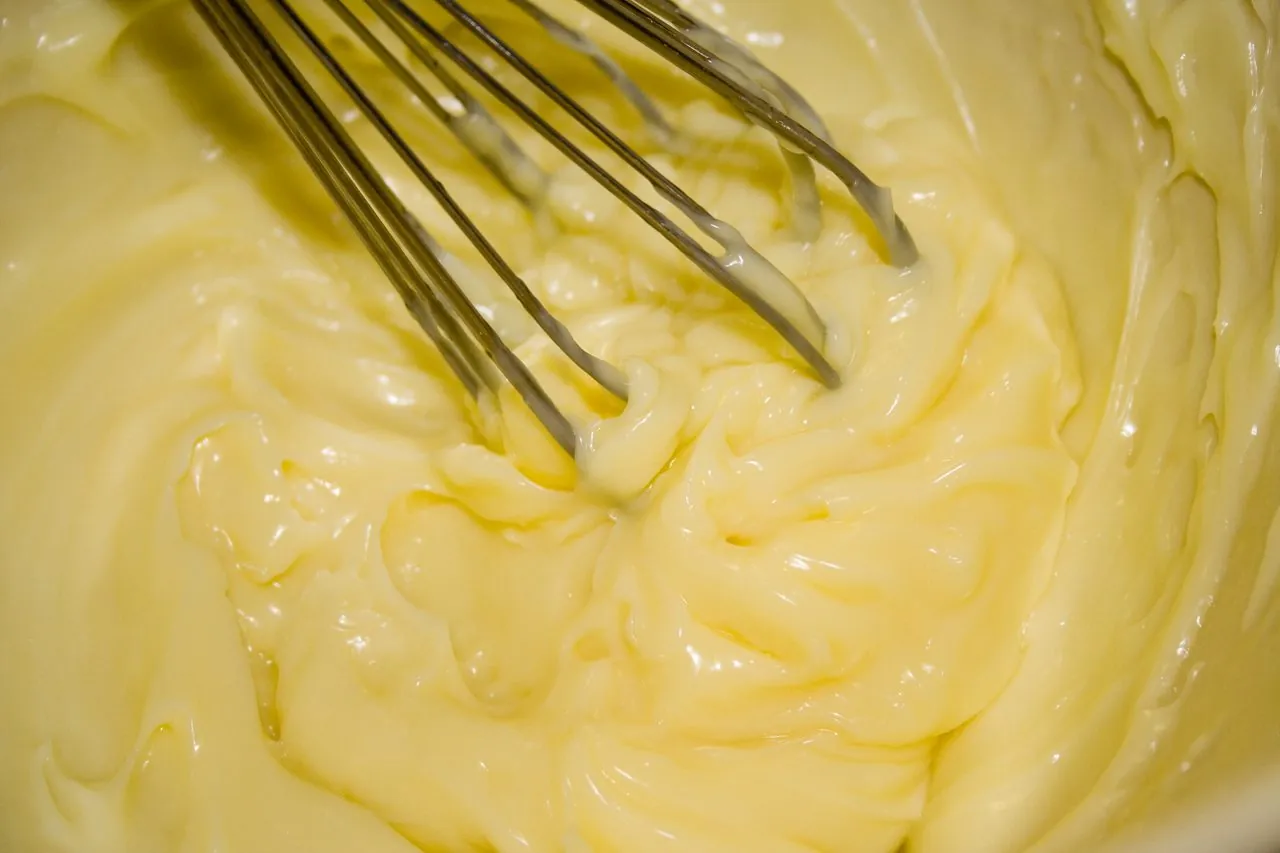
The 30-Second Mayonnaise: Emulsion Science in a Jar
One yolk can carry a full cup of oil — if you understand lecithin. The immersion-blender mayonnaise method and how to rescue a broken one.
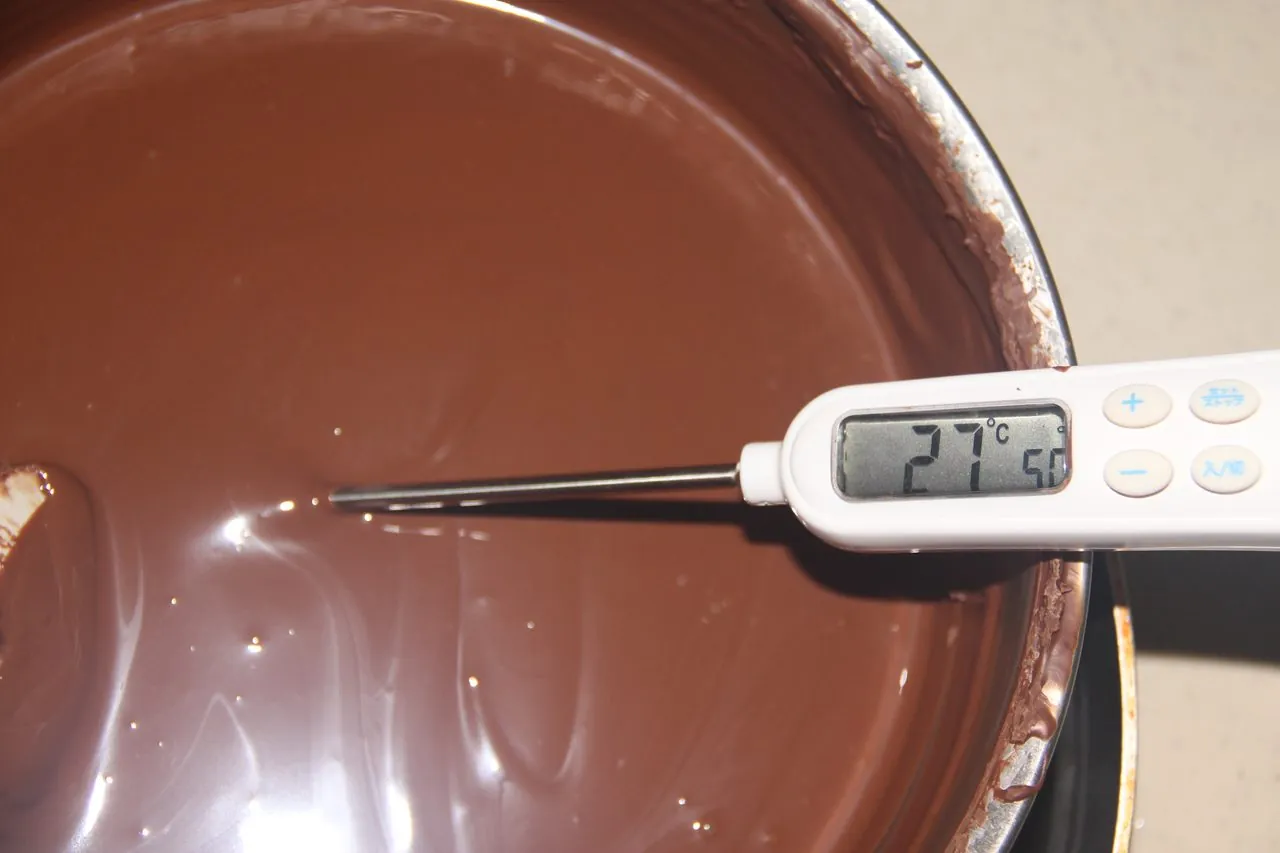
Melted chocolate that hardens into a dull, streaky, bendy mess was not defective chocolate. It was untempered chocolate. The difference between a homemade truffle that snaps and gleams and one that blooms with gray streaks comes down to crystals — specifically, which of the six possible crystal forms of cocoa butter the fat adopts as it cools. Tempering sounds like candy-maker mysticism, but it is really a temperature schedule, learnable in an afternoon with a thermometer and some patience.
Cocoa butter, the fat that makes up roughly half of chocolate, is polymorphic: as it solidifies, its molecules can pack into six different crystal forms, conventionally labeled I through VI. Each form has a different melting point and a different structure. The lower forms melt too easily and set too soft. The highest, Form VI, is stable but forms so slowly that in practice it mostly appears as fat bloom — the gray, streaky film on chocolate that has melted and re-solidified carelessly.
The desirable target is Form V: firm at room temperature, glossy when set, contracting cleanly out of molds, shattering with a distinct snap, and melting just below body temperature so it disappears on the tongue instead of coating it. Chocolate that sets soft and floppy, or ages streaky and gritty, has solidified into a scramble of unstable forms that migrate over time. Tempering exists to skip that chaos entirely and hand the fat exactly one instruction.
Tempering is a three-stage process: melt the chocolate fully to erase all existing crystal memory, cool it with agitation until Form V crystals begin to form, then warm it gently to a working temperature where the unstable crystals melt away and only the right ones remain suspended. For dark chocolate, the standard schedule runs: melt completely at 113 to 122 degrees Fahrenheit — 45 to 50 degrees Celsius — cool to 82 to 84 degrees Fahrenheit, 27 to 28 degrees Celsius, while stirring or seeding, then rewarm to 88 to 90 degrees Fahrenheit, about 31 to 32 degrees Celsius, and hold there while you work.
Milk and white chocolates need their own crystallization curves. For Callebaut's examples, the milk working range is about 29–30 C and white about 28–29 C, rather than a universal two-degree Fahrenheit reduction at every stage. Melting, cooling and working are different parts of the curve. Follow the particular product's instructions and check a thin sample before filling moulds.
Agitation matters as much as temperature. Stirring during the cooling stage distributes the forming crystals evenly and gives the fat countless points from which to crystallize; chocolate cooled in silence forms fewer, larger crystals and a coarse set. It is why every tempering method, from seeding to slab to factory machines, is built around constant motion.
The easiest home method is seeding, and it needs nothing exotic: chocolate, a bowl, a spatula and a thermometer. The solid chocolate you add does the crystal work; you are just giving it the right conditions to spread. The sequence runs like this:
Then return the bowl to gentle warmth — a few short seconds in the microwave, or a brief visit over the water — to lift it back into the working window near 89 degrees. Stir, test and work promptly. Tempered chocolate is on a clock: every minute spent above 93 degrees or below the working range costs you the temper you just built. If the bowl thickens as you work, a short warm-up and a fresh stir usually restore the flow.
Professionals often temper on marble. Melt the chocolate, pour two-thirds of it onto a cool stone slab, and work it with a palette knife and scraper, spreading and gathering until it thickens and drops to around 82 degrees, then scrape it all back into the remaining warm third to lift the mass to working temperature. The marble cools efficiently, and the spreading motion shears the forming crystals into even distribution. It is theatrical and effective, and at home entirely optional — seeding reaches the same crystal chemistry with less cleanup. What is not optional, either way, is measuring the temperature.
The proof takes five minutes. Dip the tip of a knife or a strip of parchment paper into the chocolate and leave it at room temperature. Properly tempered chocolate begins to set within 3 to 5 minutes and dries glossy and even, with no streaks. Dull, patchy or permanently tacky means the temper failed — usually the chocolate was too warm when used, dissolving the seeds, or never cooled enough to form them. The remedy is undramatic: remelt to the full melt temperature and run the schedule again from the start. Chocolate holds no grudge.
Two habits protect the finished work. Keep melted chocolate away from all moisture — a single drop of water can seize it into a stiff, unworkable paste — and keep set pieces out of the refrigerator when the room is cool enough; condensation dissolves surface sugar and leaves bloom behind. A cool, dry room, a reliable thermometer and unhurried stirring are the entire toolkit.
Callebaut publishes separate curves for its dark, milk and white products. As examples, its 811 dark chocolate is worked at about 31–32 C, 823 milk at 29–30 C and W2 white at 28–29 C after the appropriate melting and cooling stages. Those working ranges are not obtained by subtracting the same two Fahrenheit degrees at every stage. The actual bag or manufacturer's curve should take priority over a general guide.
Keep a small sample separate when you test the set. A thin smear on parchment lets you assess streaks and setting without committing a whole mould. Room temperature matters: a hot kitchen can delay the test even when the chocolate contains suitable crystals. Record the chocolate type and room conditions before diagnosing the thermometer as the problem.
Compound coatings made with other fats may not need the same tempering process. Check the ingredient label before following a cocoa-butter curve. If moisture causes seizing, do not assume reheating alone will restore a moulding chocolate; it may be better suited to a sauce or another recipe where added liquid is intentional.
Use the curve for the actual chocolate you buy; a single offset does not cover every milk or white chocolate.
One yolk can carry a full cup of oil — if you understand lecithin. The immersion-blender mayonnaise method and how to rescue a broken one.
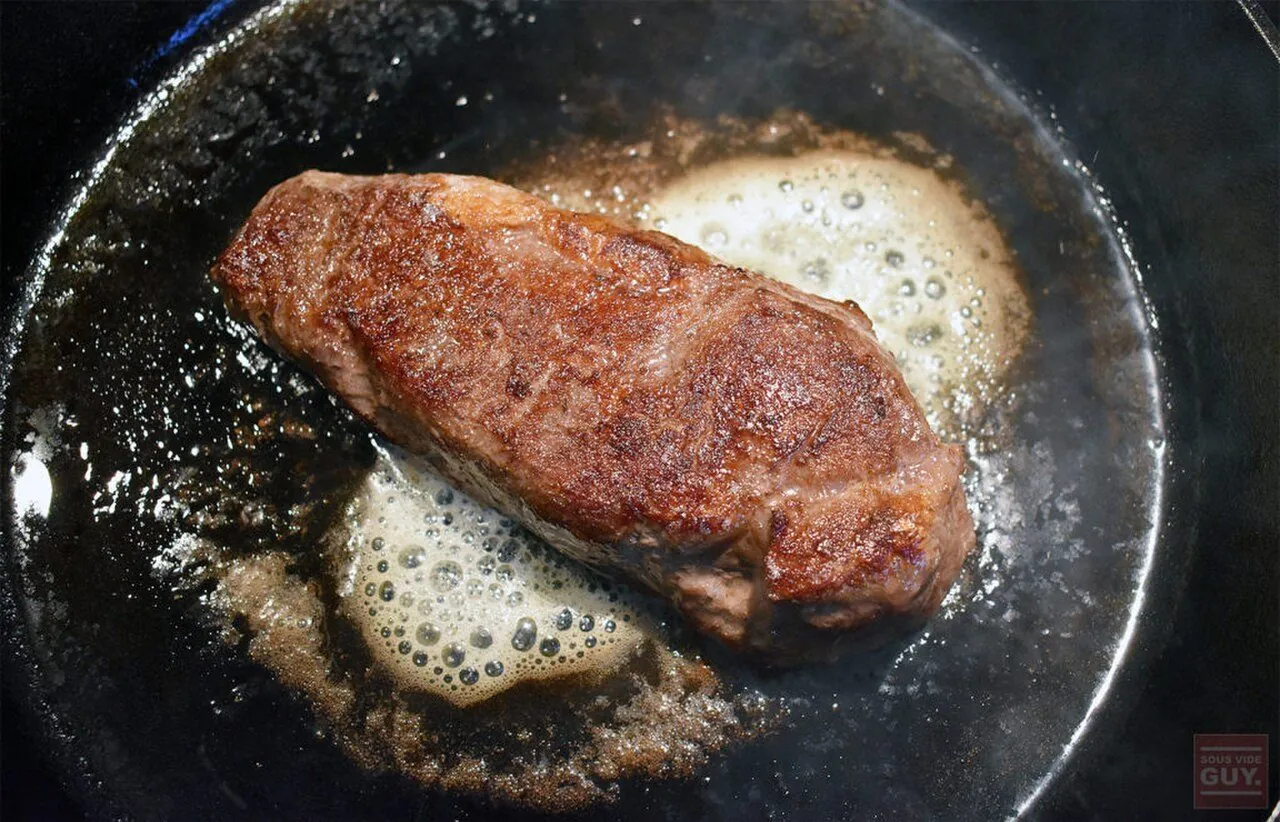
It starts around 285 degrees and it is not caramelization. The chemistry of browning, and the dry-heat rules that make it happen faster.
Five ingredients, three minutes and the fond already in your pan: the ratio-based pan sauce formula that fixes any weeknight protein.