The 30-Second Mayonnaise: Emulsion Science in a Jar
One yolk can carry a full cup of oil — if you understand lecithin. The immersion-blender mayonnaise method and how to rescue a broken one.
Watch a good line cook at work and you will notice the knife rarely stops moving, and the cook rarely looks at it. That fluency is not talent; it is four cuts practiced until they are boring. Nearly everything a home cook needs to produce — the salad, the soup, the stir-fry, the salsa — comes down to a crosswise slice, a baton, a dice, and a mince. Learn the four, plus the grip and posture that power them, and prep stops being a chore and becomes rhythm.
Everything begins with how you hold the knife. The standard is the pinch grip: pinch the blade itself between thumb and bent forefinger, right where blade meets handle, and wrap the remaining three fingers loosely around the handle. It feels strange for about a day, then revelatory. A chef's knife balanced at the bolster stops feeling like a cleaver lashed to a stick and starts feeling like an extension of the hand — lighter, faster, and far more precise than a full-fist grip on the handle.
Stabilize the board with a damp towel underneath; a sliding cutting board is the quiet culprit behind most knife slips. Then arrange your guide hand in the claw: fingertips tucked under, knuckles forward, presenting a wall of knuckle for the blade to ride against. The flat of the blade rests lightly on those knuckles as it moves, so the hand holding the food and the hand holding the knife work as one mechanism. Fingertips never lead; knuckles always do.
The cutting motion itself is a forward press: start with the tip on the board, draw the blade back and down through the food in one fluid stroke, and let the edge do the work. Saws are for wood. If you are pressing hard, sharpen the knife before practicing anything else.
The slice is the foundation, the cut from which the others descend: cucumber rounds for a salad, onion half-moons, coins of carrot. Steady the food with the claw, then cut crosswise into pieces of even thickness. Evenness is the point — thin and thick slices on the same pan finish at different times, so precision here is really a promise about cooking later. For most vegetables a quarter-inch slice is a sensible default.
Length of stroke matters less than repeatability: pick a thickness you can hold for the whole vegetable, not the paper-thin ideal that lasts three slices. Knife work rewards the honest compromise — every piece slightly thicker, but all of them alike.
For larger items — an onion, a bell pepper — halve first to create a flat, stable face, and set it flat side down. Every cut on a round object is safer and straighter once the object cannot roll. That single habit, flattening the food, prevents more accidents than any expensive knife ever will.
The baton — the stick cut — is where prep becomes architecture. Square off the vegetable first: trim a thin slice from each rounded side so you have a stable rectangular block, with the trimmings saved for stock or snacks rather than the bin. Slice the block lengthwise into planks of even thickness, stack two or three planks, and slice again, perpendicular to the first cuts, into sticks. Half-inch sticks are the classic French cut behind fries and crudités; carrot sticks for the week's lunches are batons.
Batons matter in their own right — even sticks roast evenly — but their real value is as the precursor to the dice. Cut sticks of uniform width, and the dice is already half done.
To dice, gather your batons into a bundle and cut crosswise at even intervals; sticks become cubes. A half-inch baton yields a medium dice; start with narrower sticks and cut matching crosswise intervals for a small dice worthy of a proper mirepoix. The logic is always the same: two flat cuts make a third dimension. Vegetables cut this way cook at the same rate, look intentional on the plate, and make it easier to judge doneness without very small pieces scorching before larger pieces cook.
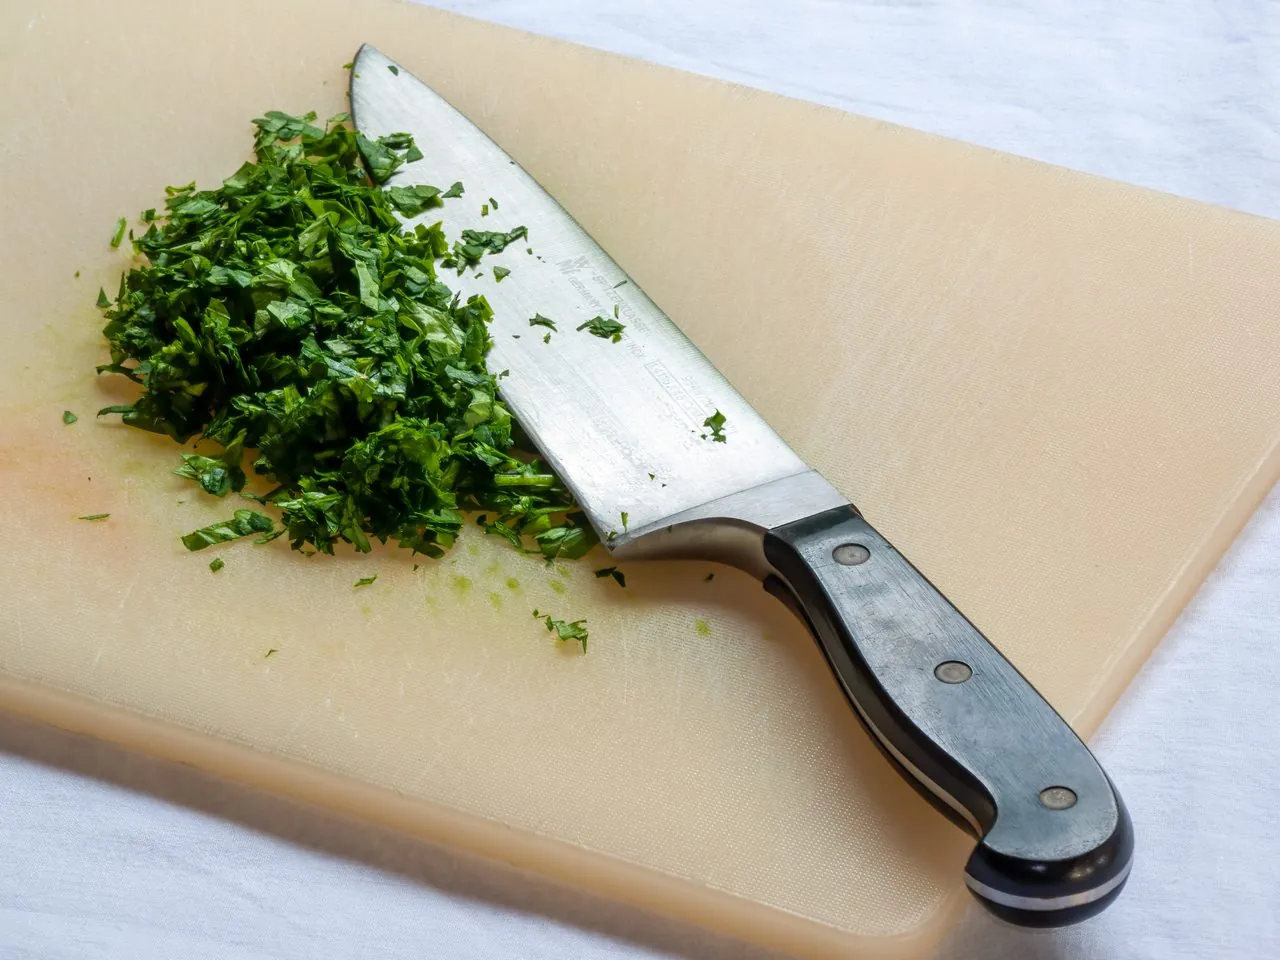
The mince is the dice taken to its conclusion, and it belongs to a different motion. For garlic, shallots, and herbs, anchor the tip on the board and rock the heel of the blade up and down across the pile, sweeping the food back to center with the claw hand between passes. Half a minute of rocking reduces a clove of garlic to paste-adjacent crumbs that bloom in oil without surprising anyone with a raw shard. Mincing is rhythm, not strength.
The counterintuitive truth of knife work is that sharp knives are safe knives. A dull edge requires force, and force is what turns a slip into a stitch; a sharp edge bites where you place it and stops where you expect it. Hone the edge on a steel or honing rod weekly — honing maintains an edge, with the mechanism depending on the rod and blade; abrasive rods can also remove metal — and have the knife properly sharpened a couple of times a year, or whenever the tomato test fails.
Practise on a vegetable that can be made stable with a flat side. Put the flat side down, secure the board and work slowly enough that the guide hand stays tucked. A round carrot rolling under the blade is a stability problem, not a challenge to solve by moving faster.
For batons, cut lengthwise into planks, then lengthwise again into sticks; cross-cut the bundled sticks for dice. Keep the plank thickness and stick width equal if cubes are the goal. Merely shortening a half-inch stick makes a shorter piece, not a smaller-width dice. Choose dimensions for the dish rather than treating one French cut size as compulsory for every soup.
Keep the resting knife visible and away from a sink full of water. Move trimmings with the spine or a scraper rather than dragging the cutting edge sideways over the board. If a cut requires uncomfortable force, stop and change the setup, blade or ingredient size. Speed comes after controlled, repeatable movements, not before them.
Basic preparation guidance; cut dimensions should follow the dish and the cook's ability to work safely.
One yolk can carry a full cup of oil — if you understand lecithin. The immersion-blender mayonnaise method and how to rescue a broken one.
Match melting, cooling and working temperatures to dark, milk or white chocolate. Manufacturer curves and a small setting test guide the process.
It starts around 285 degrees and it is not caramelization. The chemistry of browning, and the dry-heat rules that make it happen faster.