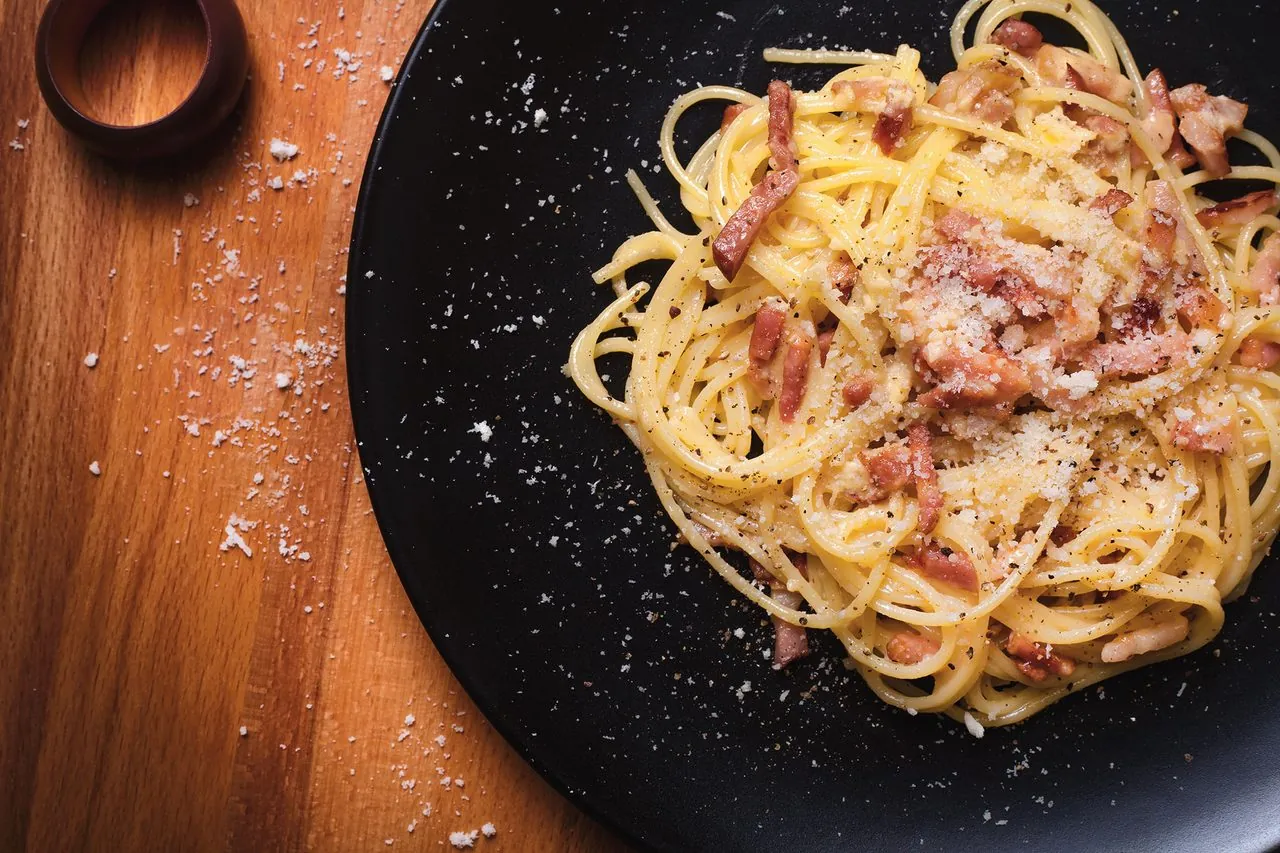
Spaghetti alla Carbonara: The Roman Original, Done Right
Guanciale, Pecorino Romano, eggs and pepper — no cream, no onions. How Rome’s most-guarded pasta actually comes together in 20 minutes.
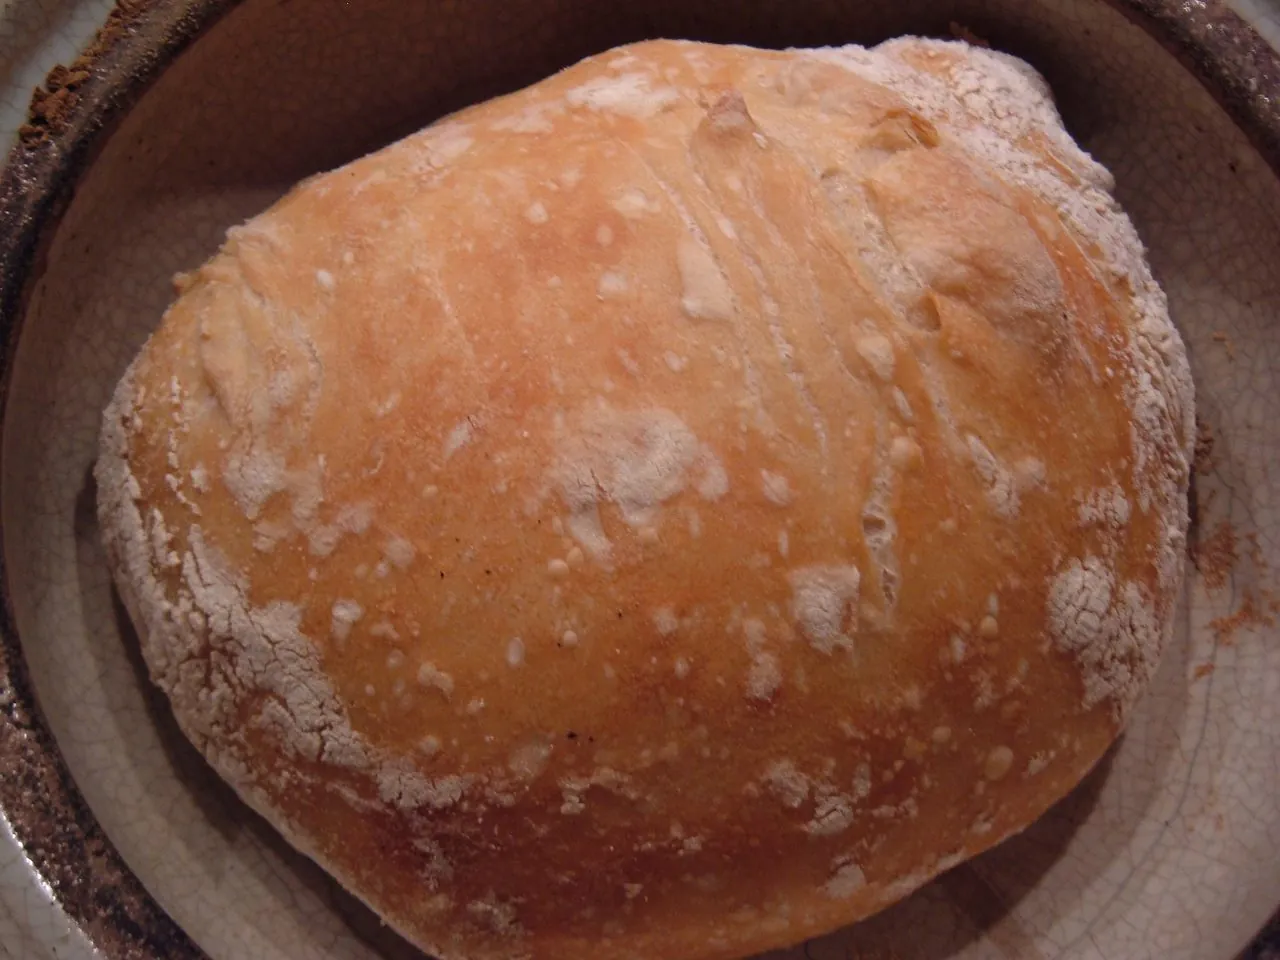
In 2006, the New York Times food writer Mark Bittman published a column about a bread that asked for almost nothing: no mixer, no kneading, no starter, and no skill worth mentioning. The recipe came from Jim Lahey, the baker behind Sullivan Street Bakery in New York, and it circled the world in a matter of weeks. Home cooks who had pulled dense, pale, apologetic loaves from their ovens for years suddenly produced round, crackling, open-crumbed breads that looked and tasted like something from a bakery counter. The secret was not equipment and it was not talent. The secret was time.
The long rise makes the dough forgiving about labour, not about every handling detail. Check that the pot, lid and knob are rated for the specified oven temperature before heating them empty. A towel dusted with flour helps prevent sticking, but a towel is not a lifting aid for the hot pot itself.
Prepare a heatproof landing place and dry oven gloves before taking off the lid. Escaping steam can burn, so open away from your face. If the dough is awkward to transfer, a suitable parchment sling can help only within that parchment's stated heat limits. Do not improvise with waxed paper.
Let the loaf cool before cutting if you want a useful assessment of the crumb. A hot slice can feel gummy even when the loaf is otherwise baked appropriately. For comparing batches, record flour type, fermentation temperature and how much the dough rose rather than keeping only a clock time. A cold room and a warm kitchen will not produce identical fermentation after the same number of hours.
Kneading exists to organize gluten into the elastic network that traps gas and lifts a loaf. Lahey's insight was that a very wet dough, left entirely alone, does the same work on its own schedule. His method ferments for 12 to 18 hours with only about a quarter teaspoon of yeast, a fraction of what conventional recipes use. The dough is deliberately slack, hydrated at roughly 75 to 80 percent, sticky and shaggy and impossible to knead in the ordinary sense. During the long rest, the yeast multiplies, the gluten slowly aligns, and enzymatic activity builds the quiet, complex flavor that a quick rise can never produce. Where a sandwich loaf wants strength, this bread wants slack. There is also a practical mercy here: no stand mixer, no dough hook, no forearm ache, and no special flour, because the method was designed for ordinary kitchens rather than professional ones.
The canonical version fits on an index card, which is part of its genius.
Each step is short. The elapsed time is long, but the active time barely reaches ten minutes, and most of that is washing flour off your hands.
The pot is the entire performance. A preheated covered vessel traps the steam the loaf releases during the first stretch of baking, and that steam keeps the surface supple so the bread can expand fully instead of setting into a shell too soon. When the lid comes off, the dry heat browns and crisps that moistened surface into a thin, glassy crust that shatters when tapped and crackles as it cools. Before this method spread, a home baker without a steam-injecting deck oven generally produced thick, dull crusts. After it, an ordinary enameled pot on a weeknight became a miniature professional oven, and the blast of a 450 to 500 degree start provided the spring that makes an open crumb possible.
Bittman's column did more than hand out a recipe; it reset what home bakers believed they could make. Thousands of cooks adopted the method as a nightly rhythm, mixing a dough before bed and baking the next evening. Variations accumulated quickly, from whole-wheat and seeded versions to olive-studded loaves to faster adaptations that traded some flavor for some hours. Bakery bread with Lahey's signatures, the blistered crust and the irregular honeycomb crumb, stopped being something you could only buy. The deeper shift was philosophical: the recipe proved, to anyone who tested it, that time can stand in for skill. Home bakers who never trusted themselves with yeast discovered that their only real obstacle had been impatience, and that the oven they already owned was capable of more than they had asked of it.
A few habits make the difference between a good loaf and a great one.
None of these are difficult. That is the quiet point of the recipe, and the reason it endures: it asks for attention only where attention changes the outcome.
An attributed outline of the long-fermentation method; pot and lid temperature limits remain manufacturer-specific.
Guanciale, Pecorino Romano, eggs and pepper — no cream, no onions. How Rome’s most-guarded pasta actually comes together in 20 minutes.
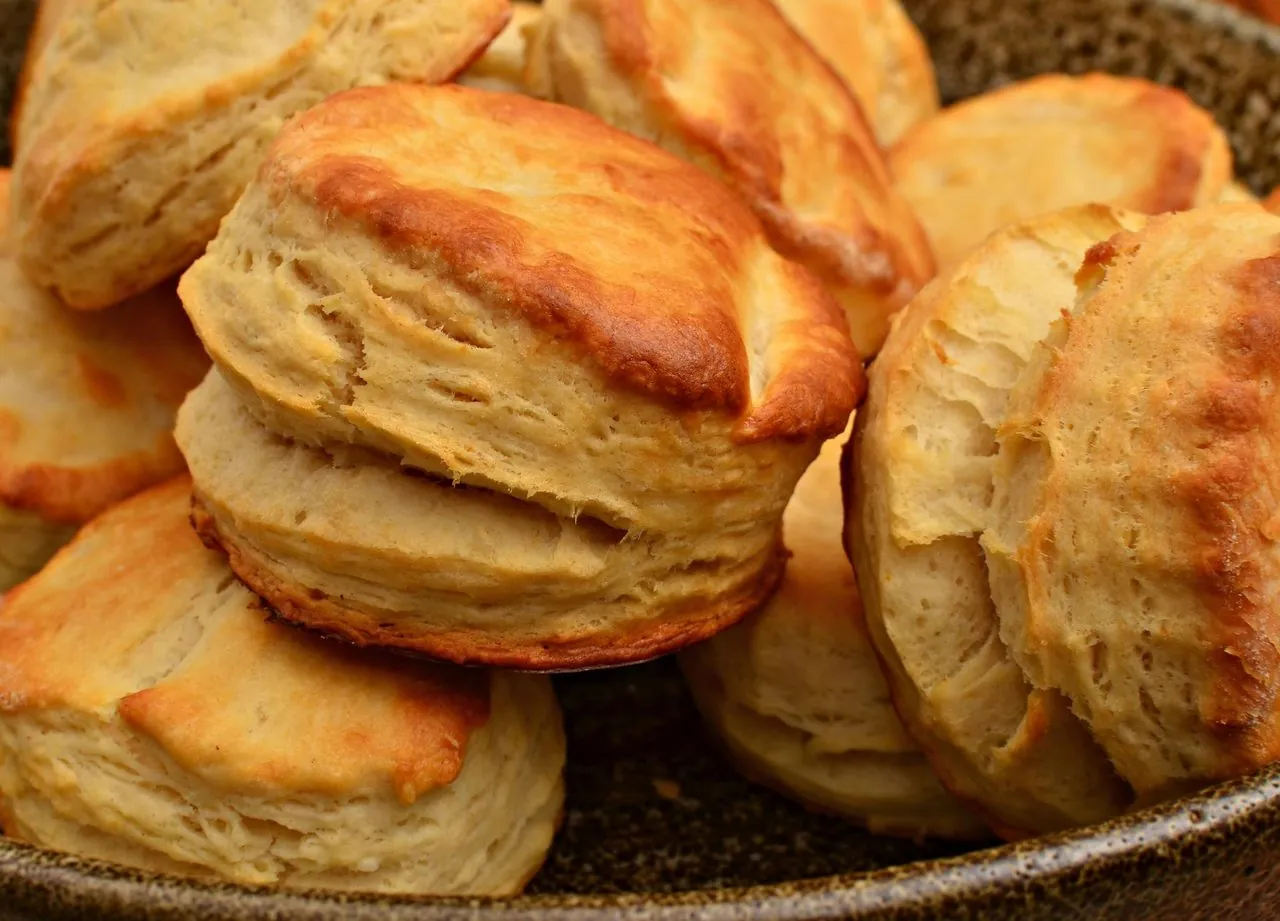
Cold butter, a gentle fold and one extra fold of dough: the physical rules that create a dozen shattering layers in buttermilk biscuits.
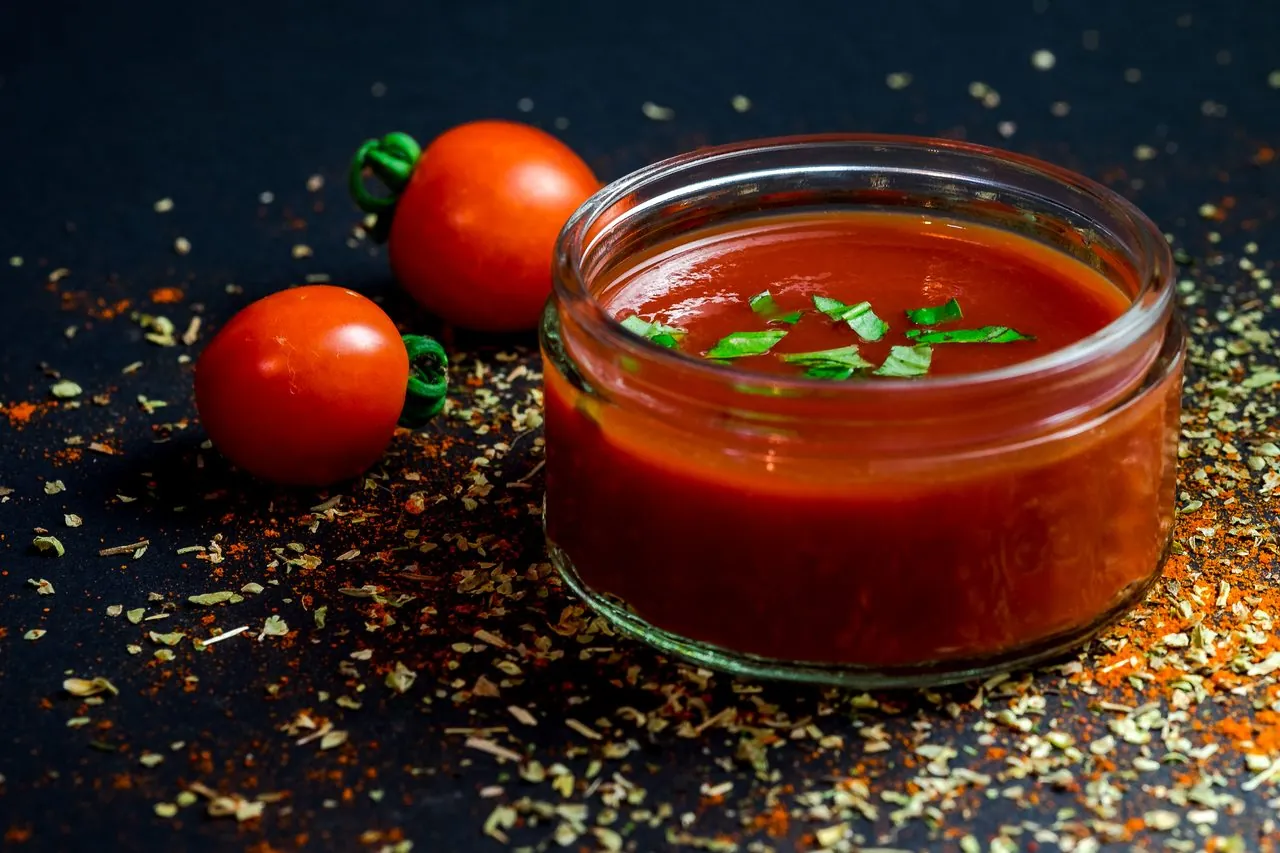
Three ingredients and 45 minutes: the late Marcella Hazan’s legendary tomato sauce remains the smartest 20 minutes of prep in Italian cooking.